Test Automation has been accepted as a viable remedy to the shortcomings of Manual Testing. It has served to make the testing process highly efficient and productive; while at the same time unburdening the testers of the need to indulge in a highly laborious cycle of repetitive activities.
There are numerous tools and software which helps in conducting this Automation Testing and Selenium is one of the most widely used and well known Test Automation Tool of choice for industries cutting across sectors.
In this blog, we will look at the issue of Selenium download, more precisely, at the question of how to download Selenium WebDriver.
The topics which will be covered in the blog are:
What is Selenium?
Selenium is a free, open-source test automation tool which is used for testing web applications across different platforms and browsers.
The process of Selenium Automation Testing embodies a single interface and allows the user to write test scripts in different programming languages like Java, Python, C#, Ruby, Perl, PHP and NodeJS.
The Selenium Automation Tool can only be used to test web applications and not desktop or mobile applications. It is one of the best known and widely used software testing tool of choice.

What is Selenium WebDriver?
Much like a driver in the real world, the Selenium WebDriver too, takes you to your desired location by automating the browser applications for testing purposes. It was created by Simon Stewart in 2006, as a solution to the shortcomings of Selenium RC.
It provides an interface for creation as well as execution of test cases and it is possible to identify web page elements through the test cases and take appropriate action. It provides for testing on multiple platforms as well as realistic browser interaction. It is quite easy to install Selenium WebDriver as compared to Selenium RC and the execution time for the WebDriver is faster as compared to Selenium IDE and Selenium RC.
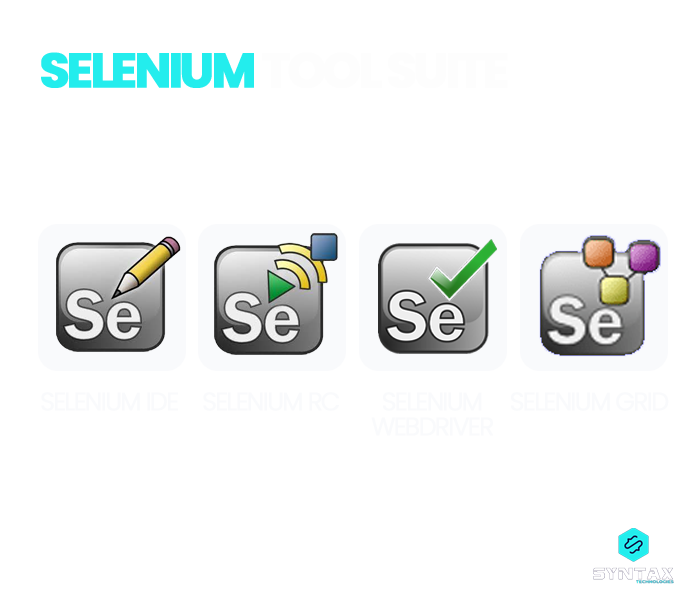
The Selenium Automation software is not a single tool, but a suite of software, each of which serves a specific set of testing purposes for the organization. Selenium WebDriver is one of the most well known members of the Selenium family, so much so that the idea of Selenium download has almost become synonymous with the idea of Selenium WebDriver download. Selenium provides its bindings in different programming languages and users have the option to develop their test cases in the language of the choice. However, for the purpose of convenience, in this blog we will only cover the topic of how to install Selenium WebDriver for JAVA.
Complete Guide on how to get Selenium WebDriver
The process of Selenium download involving steps to install Selenium WebDriver, has certain prerequisites in terms of the basic environment set-up. These include:
- Install JAVA SDK
- Install Eclipse IDE
- Download Selenium Java Client Driver
- Install Selenium WebDriver
Let us look at these steps one by one.
Step 1: Install JAVA SDK
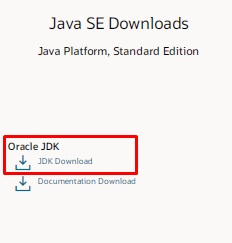
In the first place, you need to download and install Java Development Kit (JDK). You can run a Google search for Download Java Oracle or you can directly visit the site through this link: https://www.oracle.com/in/java/technologies/javase-downloads.html . From the site you need to go to JDK Download.

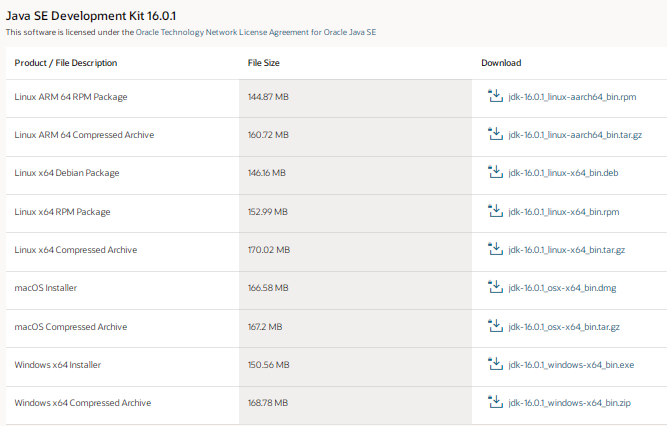
On clicking the download link, you will be redirected to Java SE 16-Downloads Page. The page offers a list of catalogued Java Software Development Kit. You will be required to choose the one which best corresponds to your advanced system settings. This JDK version comes along with Java Runtime Environment (JRE), so you won’t be required to download and install JRE separately.

You will just be required to click on the specific file and run Java on your computer. Consequently, JDK will be successfully installed on your system.
Step 2: Install Eclipse IDE
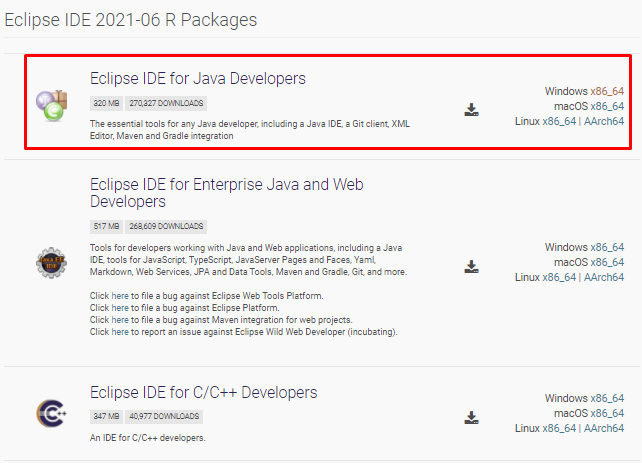
You can run a Google search for Download Eclipse IDE Packages or directly click on the given link: https://www.eclipse.org/downloads/packages/ . You will be directed to a page showing Eclipse IDE 2021-06 R Packages. You need to scroll down and search for Eclipse IDE for JAVA Developers and download it according to the version and compatibility of your operating system (32 bit or 64 bit).

After the file is downloaded, you will be required to extract the zipped file and save it to any directory from which it would be easily accessible. The root folder is the eclipse.
When you open the Eclipse folder, you will find all the source files and required applications. From here, you need to scroll down and launch the eclipse application.
You might be required to specify your workspace location. It refers to the location where your eclipse projects will be residing. You can either opt for the default location or enter a desired location. Click OK.
Step 3: Download Selenium Java Client Driver
You can run a Google search for Selenium Download and visit the official website of Selenium or directly click the link here: https://www.selenium.dev/downloads/.
You will find a section where you have all the client libraries for the different programming languages listed. You need to search for the download link for Java Client Library and download it. It will take a few minutes for the entire zipped folder to get downloaded to your system.
The download will prompt as a ZIP file named, selenium-3.14.0.zip. You can extract the content of the ZIP file on your C drive. This will enable you to have access to the directory named, C:selenium-3.14.0. It would contain all the jar files which help users to write test scripts in Java.
These libraries can be configured in Eclipse IDE
Step 4: Install Selenium WebDriver: Configuring Libraries with Eclipse IDE
Launch eclipse application from within the Eclipse folder.
You will be required to create a New Project by following the given path: File >> New >> Java Project.
A pop window will be visible which will ask you to provide the given details.
- Project Name
- Location
- Option for executing JRE
- Option for Project Layout
- Click on Finish
The project can be named as New_Project
Hover over to the newly created project and right click on the same. Go to New > Package. A pop up window will appear where you can provide the name of the package, say, New_Package and click Finish.
The next step is to create a new Java class. Go to New_Package and right click on it. Go to New > Class and a pop window will appear. Here, you can provide the name of the class, say, First_Class and click Finish.
At this stage, you need to configure the libraries into the Java Project. Go to New_Project and right click on it. Choose Properties and click on Java Build Path.
Click on Libraries and then on Add External JARs
You will need to browse to the point where you have saved the extracted folder for Java Client Libraries
Select all the jar files which you would like to add
Once done, click on Apply and Close
Selenium is now successfully configured with Eclipse and you can start using Selenium WebDriver.
Conclusion
The blog seeks to provide a detailed tutorial on how to install Selenium WebDriver. The Selenium WebDriver is an improved version over Selenium RC and Selenium IDE. One seeks to install Selenium WebDriver as it provides a smooth and more stable approach to testing and web automation process. There are several advantages of knowing the usage of Selenium WebDriver. It comes with the benefits of reusable script and easy maintenance which makes it the first choice as a test automation tool. If the above steps are followed carefully, you should not face any issue with Selenium download.
Selenium happens to be one of the most preferred tools by Automation Testers, including, Software Development Engineer in Test (SDET). We, at Syntax Technologies, provide you with an amazing opportunity to acquire hands-on experience in learning this Test Automation Tool as a part of our SDET Automation Training Course.


